Changing your name after marriage can feel overwhelming, but following a clear step-by-step process helps. Start by obtaining your marriage certificate, then update key documents like your Social Security card, driver’s license, and passport. After that, tackle financial accounts, professional records, insurance policies, and personal accounts like utilities and digital services. If you don’t want to handle everything on your own, the easiest and fastest way to do it is by using a name change kit.
Here’s a quick overview of the process:
- Step 1: Get certified copies of your marriage certificate.
- Step 2: Update your Social Security card (Form SS-5 required).
- Step 3: Update your driver’s license (Real ID compliant if needed).
- Step 4: Change your passport (forms vary by passport age).
- Step 5: Update bank accounts, credit cards, and investment accounts.
- Step 6: Notify your employer and update career documents.
- Step 7: Update insurance policies (health, car, life).
- Step 8: Update personal accounts (utilities, subscriptions).
- Step 9: Consider using name change services for convenience.
Start with government IDs, then move to financial and personal updates. Staying organized and consistent ensures a smoother process. If you want to save time and stress you can use a name change kit which will expedite everything.

Name Change After Marriage | The Process & Tips
Step 1: Get Your Marriage Certificate Copies
Start by getting certified copies of your marriage certificate. These copies, which include an official seal, act as the legal proof you’ll need to update your name across various documents.
Where to Get Certified Copies
Reach out to the county clerk’s office where your marriage license was issued. You can request certified copies through several methods:
| Request Method | Typical Cost |
|---|---|
| In-person | $3-$20 per copy |
| $3-$20 per copy + shipping | |
| Online (if available) | $3-$20 per copy |
When making your request, you’ll need to provide:
- Full names of both spouses
- Date of marriage
- Place of marriage
- Valid photo ID
- Payment for the required fees
Note: Processing times can vary but typically take 2-4 weeks.
How Many Copies Should You Order?
It’s a good idea to order 3-5 certified copies. This ensures you have enough for simultaneous submissions, your personal records, and any documents that agencies like the Social Security Administration may keep. Having extra copies on hand can save time and prevent delays if one gets lost or retained.
If you notice any errors on your certificate, make sure to resolve them with the county clerk before moving forward.
Step 2: Change Your Social Security Card
It’s smart to file this early since the Social Security Administration (SSA) handles millions of name changes every year. Take care of this step before moving on to update your driver’s license (Step 3) or passport (Step 4).
Documents You Need
You’ll need original documents or certified copies for this process:
| Document Type | Examples of Acceptable Forms |
|---|---|
| Identity Proof | Valid driver’s license, state ID, or U.S. passport |
| Name Change Proof | Original or certified marriage certificate |
| Citizenship Proof* | Birth certificate or passport (if not already in SSA records) |
Make sure to complete Form SS-5, which is the official application for a Social Security Card.
Submission Options and Processing Times
You can submit your application in one of two ways:
- In-person: Head to your local Social Security office. This is typically the quickest way to get your request processed.
- By mail: Send your completed Form SS-5 along with the required documents. Keep in mind you’ll need to mail original documents, which will be returned to you after processing.
If your marriage certificate is from another country, include a certified English translation when submitting it.
After submitting your application, you can start using your new name right away, even before receiving your updated Social Security card. Once this step is complete, you’re ready to move on to updating your driver’s license (Step 3).
Step 3: Update Your Driver’s License
Once you have your updated Social Security card, it’s time to update your driver’s license. Many states require this to be done within 30 days of a name change to avoid penalties. Plus, you’ll need your updated license for passport changes (Step 4) and financial account updates (Step 5).
What You Need to Bring
Before heading to the DMV, make sure you have the following:
| Document | Details |
|---|---|
| Name Change Application | Specific to your state’s DMV |
Expect the visit to take around 30-60 minutes. Depending on your state, your new license might be issued on the spot or mailed to you within 1-2 weeks. Until then, keep your temporary license and marriage certificate handy.
“The process must be completed in person at a driver’s license office”, states the Texas Department of Public Safety as of February 2024.
Real ID Requirements
Planning to switch to a Real ID-compliant license? This type of ID will be required for domestic air travel starting May 7, 2025. Make sure to bring these additional documents:
- Passport or birth certificate
- Social Security card
- Two proofs of address
Your updated driver’s license will serve as your primary identification for the next steps in the name change process.
Step 4: Change Your Passport
Once you’ve updated your driver’s license, it’s time to update your passport to ensure your travel documents match your other IDs.
Which Form to Use
The U.S. Department of State provides three forms for changing your name on your passport:
| Form Type | When to Use | Processing Fee |
|---|---|---|
| DS-5504 | Passport issued less than a year ago | Free |
| DS-82 | Passport issued 1-15 years ago | $130 |
| DS-11 | Passport older than 15 years, issued when you were under 16, or lost/stolen | $130 + $35 execution fee |
For any of these forms, you’ll need:
- Your current passport
- One passport photo (2×2 inches)
- The completed application form
Note: If you’re using Form DS-11, you must also provide proof of U.S. citizenship (like a birth certificate) and apply in person at a passport acceptance facility.
“The standard processing time for a passport name change is approximately 6-8 weeks. Processing times can fluctuate based on demand and other factors”, states the U.S. Department of State as of February 2025.
Rush Processing
Standard Expedited Service
- Processing time: 2-3 weeks
- Additional fee: $60
- Clearly mark “EXPEDITE” on the envelope
Urgent Travel Service
If you’re traveling within 14 days, schedule an appointment at a passport agency and bring proof of your travel dates. Fees include the $60 expedite charge and an optional $19.53 for overnight delivery.
Travel Tip: Book your tickets using the name on your current passport and carry your marriage certificate. Some countries require your passport to be valid for at least six months beyond your travel dates.
Step 5: Update Bank and Credit Accounts
Once your government IDs are updated, it’s time to tackle your financial accounts. Keeping these in sync is essential for smooth transactions and maintaining your credit history.
Start by updating your bank accounts in person. Bring your marriage certificate and updated IDs. Most banks handle these changes within 1-3 business days, with new cards arriving in about 7-10 days.
Bank and Credit Card Updates
Updating your bank accounts is similar to updating your driver’s license. Visit your local branch with the necessary documents. For credit cards, follow these steps:
- Call the customer service number on the back of each card.
- Follow the instructions provided by your card issuer.
- Submit any required documents through mail or a secure online portal.
Processing times:
- Debit and Credit Cards: Typically 7-10 days
- Paper Checks: Usually 7-14 days
Investment Account Changes
For employer-sponsored retirement accounts, reach out to your HR department or plan administrator to update your details, including beneficiary information.
For personal investment accounts, the process varies by institution:
- Contact each investment firm individually.
- Complete and submit their specific forms.
After updating these accounts, check your credit reports with all three major bureaus within two months. If you find any errors, report them directly to the bureau with supporting documentation.
Make sure these updates are done before moving on to professional documents (Step 6). This ensures your payroll and tax information stays accurate.
Step 6: Update Work and Career Documents
Once your financial accounts are updated, it’s time to make sure your professional documents reflect your new name. This step involves working with your employer’s HR department and any relevant professional organizations.
Work and Tax Forms
Start by informing your HR department so they can update your employment records. Key documents to revise include:
- W-4 form for tax withholding
- I-9 Employment Eligibility Verification
- Health insurance and benefits forms
- Company ID badge
- Email address and internal directory listings
If you’re self-employed, remember to update business licenses, your EIN (if applicable), payment platforms, and client contracts.
Career Credentials
It’s also important to notify organizations tied to your professional qualifications, such as:
- Professional licensing boards
- Industry certification providers
- Academic institutions for degree verifications
- Professional associations
Send your updated documents to these entities to ensure your credentials are accurate.
Digital Updates: Don’t forget to revise your LinkedIn profile, email signature, professional publications, and any internal company platforms to reflect your new name.
These updates should be completed before moving on to insurance policies (Step 7) to keep all your professional records consistent.
Step 7: Contact Insurance Companies
Once you’ve updated your official documents, it’s time to inform your insurance providers about your name change. This ensures your coverage remains uninterrupted.
Medical and Car Insurance
Start with your health insurance, as it’s often the most urgent. You’ll need to provide:
- A certified copy of your marriage certificate
- Your new Social Security card
- Your updated driver’s license
It usually takes 5–10 business days to process the changes. Don’t forget to update your name with healthcare providers to avoid billing issues, and ensure your HSAs/FSAs reflect the change.
For auto insurance, notify your provider promptly to update your policy. Here’s what you’ll need:
- Your updated driver’s license and marriage certificate
- A request for new insurance cards for all vehicles
Expect to receive updated documents within 7–14 days.
Life Insurance Updates
Life insurance policies may require extra attention, especially if you want to adjust beneficiary details. Reach out to your provider to:
- Fill out a “change of name” form
- Update beneficiary information, if necessary
| Insurance Type | Required Documents | Actions |
|---|---|---|
| Health | Marriage Certificate, New SS Card, Updated ID | Update with HSA/FSA |
| Auto | Marriage Certificate, New Driver’s License | Request new insurance cards |
| Life | Marriage Certificate, Name Change Form | Adjust beneficiaries if needed |
Once your insurance details are sorted, you’re ready to move on to personal accounts (Step 8) for the next phase of updates.
Step 8: Update Personal Accounts
Make sure to update your name on household utilities and digital accounts to avoid any issues down the line.
Home Services
Start with the basics:
- Electricity and gas: Utility companies usually require your marriage certificate and updated ID to process a name change.
- Water and waste management: These updates can typically be handled through your local municipality’s website or customer service portal.
- Internet and cable: You can update these accounts via their online portals or by contacting customer service.
| Service | What You’ll Need |
|---|---|
| Utilities/Municipal | Marriage certificate, updated ID |
| Internet/Cable | Account verification |
Don’t forget to update your voter registration to reflect your new name.
Digital Services
For streaming and entertainment platforms like Netflix, Hulu, and Disney+, changes can be made directly through your account settings.
Also, update other digital services such as food delivery apps, fitness trackers, smart home devices, gaming platforms, and digital payment services.
Once you’ve tackled these updates, move on to Step 9 to notify professional services.
Step 9: Name Change Services
Once you’ve updated your personal accounts, you might want to consider professional services to handle the rest of the paperwork. If you’re looking for a faster and easier way to deal with government and institutional name changes, these specialized services can help.
UpdateMyName.com
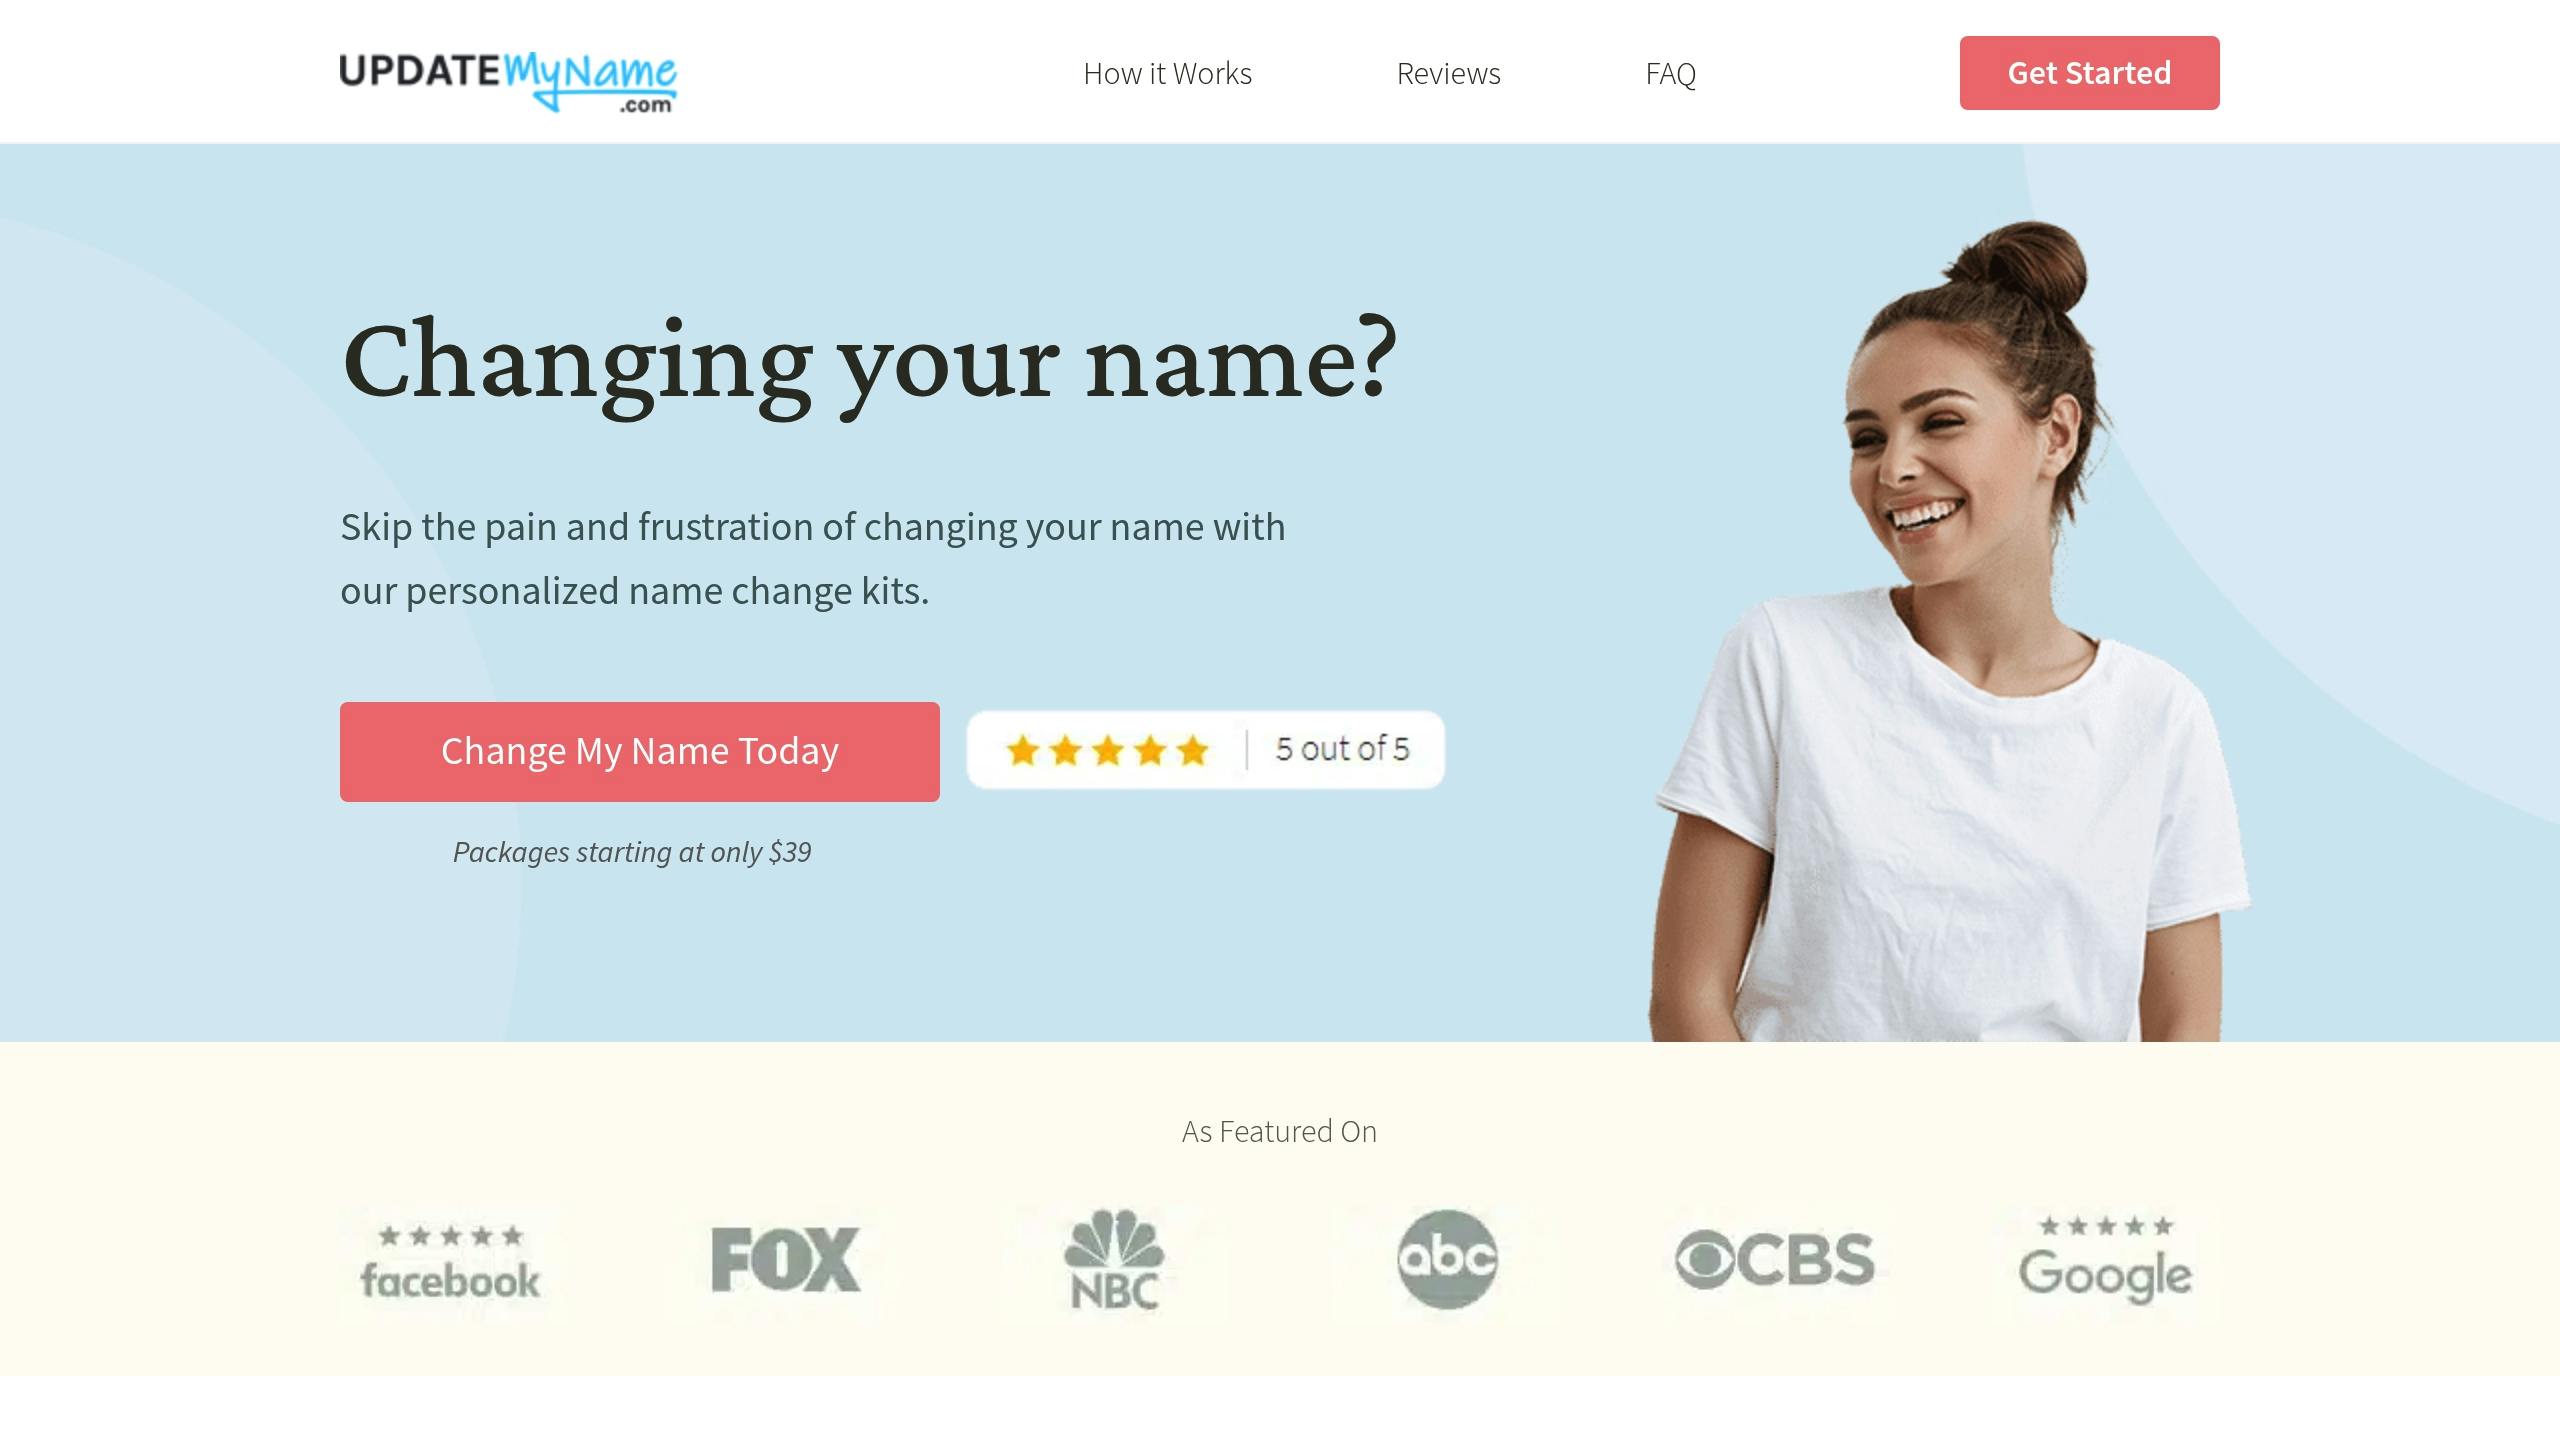
UpdateMyName.com is an online platform designed to streamline the name change process. It generates all the necessary forms for your situation, covering everything from government agencies to private organizations.
Here’s a breakdown of their service packages:
| Package | Price | Features |
|---|---|---|
| Basic | $39 | Digital forms + tracking |
| Full Service | $69 | Printed forms + passport photo service |
| Platinum | $99 | All features + dedicated customer support |
The platform uses state-specific forms to ensure everything is accurate and compliant. Plus, they secure your data with 256-bit encryption.
Why Use Name Change Services?
These services can make the process smoother and less stressful by offering:
- Time Savings: On average, these platforms save about 13 hours of research and paperwork. Everything is managed in one place, so you don’t have to jump between websites or offices.
- Fewer Mistakes: With pre-filled forms and expert guidance, you’re less likely to make errors that could cause delays.
- Complete Coverage: They ensure no important step is overlooked.
They also provide email and phone support, connecting you with experts who can address specific questions. Plus, you get access to a digital dashboard to track your progress at every step.
Conclusion
Changing your name after marriage involves several steps and careful attention to detail. Following the outlined process step by step can help ensure everything is updated correctly. If needed, professional services mentioned earlier can assist with managing the remaining updates.
Here are a few important points to remember:
- Start with updating government IDs before moving on to other documents.
- Double-check that your name is spelled consistently across all updates.
- Consider professional help if your situation involves extra complexities.
The process works best when done in order, beginning with your marriage certificate and then addressing government IDs, financial accounts, and personal records. Keeping thorough records and sticking to the sequence can help you avoid unnecessary issues and complete the process smoothly.